In a small bedroom the bed is both the problem and the fix. It eats most of the floor, but it also floats over the biggest block of unused space in the place: a standard queen sits above roughly fifteen square feet of empty air. Build that into the frame and you move a dresser's worth of clothes off the floor and into the bed itself. Store-bought storage beds do the same, but they run expensive and rarely match the odd dimensions of a small room. Your own gets you the exact size and, usually, a lower price, though that saving is mostly on labor: plywood, drawer slides, and gas struts add up. Here are the three builds worth making, roughly easiest to hardest.
The right DIY storage bed depends on your skill and what you need to stash. Platform-on-open-cubbies is the easiest by a wide margin and reclaims the space around the base. A platform with built-in drawers stands in for a dresser. A lift-up bed on gas struts turns the whole cavity under the mattress into a deep chest. Never built furniture? Start with the cubbies: it's mostly assembly, not carpentry.
The simple platform bed
If you've never built a piece of furniture, start here. A platform built on a row of open cubbies or bookcase units is barely carpentry, mostly cutting a sturdy top and fastening it to boxes that do the supporting. The cubbies around the base become open storage for baskets, bins, shoes, and books, and because it's a solid platform you skip the box spring, which lowers the bed and opens the room up a little.
The appeal is how forgiving it is: no drawers to fit, no runners to align, no tight tolerances to sweat. If your cuts are a bit off, the mattress hides it. Budget a day and a decent saw, and know that "easy" here means easy for a build, not zero effort.
The platform bed with drawers
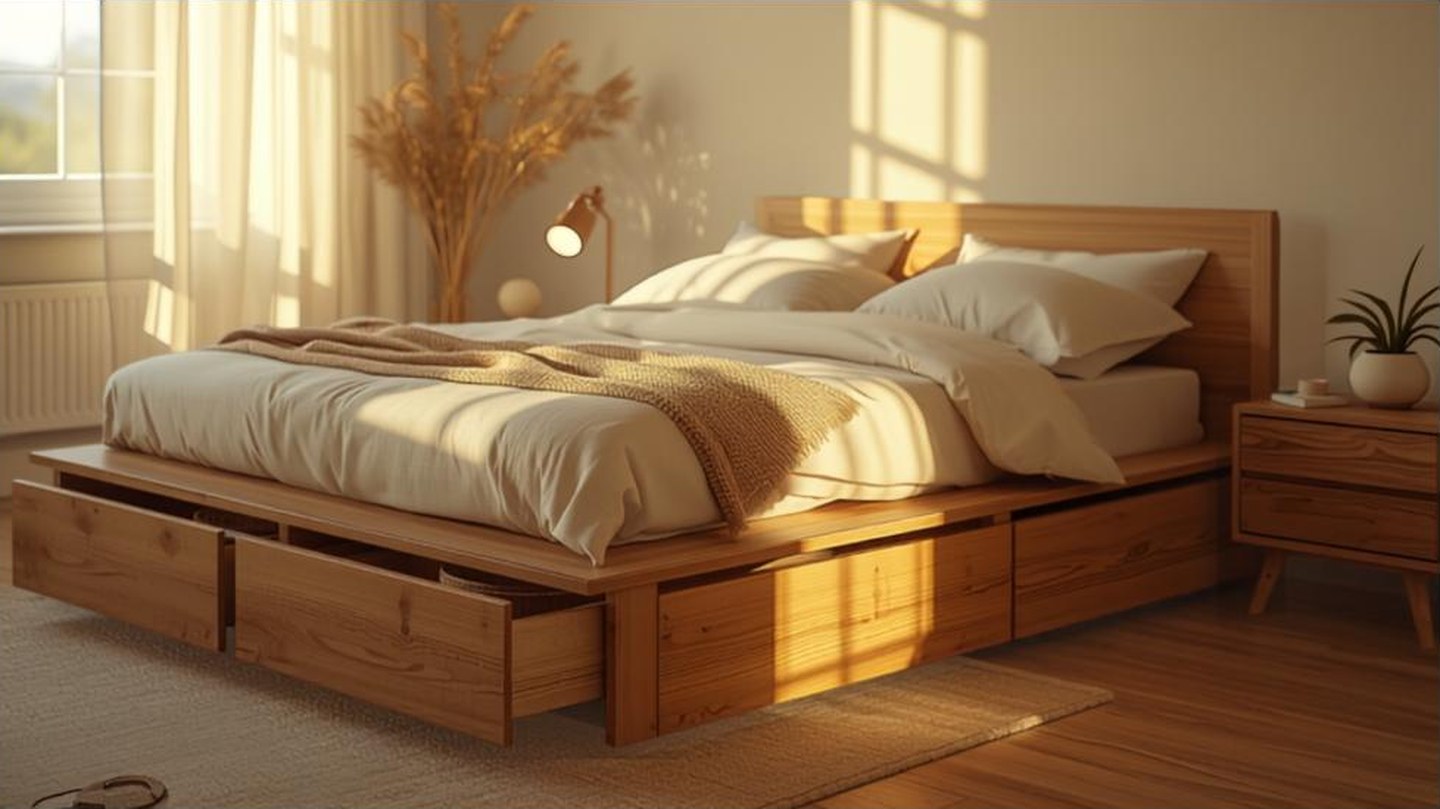
The next step up, and the one that pays off most in a small room, is a platform with drawers built into the base. Two to six large drawers slide out from the sides for dresser-grade storage without a dresser against the wall. Fold sweaters, jeans, and off-season clothes straight into the bed and retire the standalone piece.
Fair warning: this is where a real plan starts to matter, because drawer runners need consistent spacing and square openings or they stick instead of glide. Build the box true and the drawers are easy; build it crooked and you'll spend the weekend fighting it. The slides aren't cheap either, so factor that into the cost.
Want the exact plans to build these?
A library of 16,000+ step-by-step woodworking plans — shelving, storage beds, fold-down desks, and space-savers with cut lists and diagrams for every skill level.
See the plans →The lift-up storage bed
The maximum-storage build. The whole mattress platform hinges on gas struts (the same kind that hold up a car's rear hatch) so you tilt it up and reveal a deep chest underneath. Nothing else touches it for bulky, infrequently used things: spare bedding, luggage, seasonal clothes, camping gear. Because it uses the full depth of the frame instead of shallow drawers, it holds a lot.
Be honest with yourself about the difficulty, though. This is the hardest of the three: the struts have to be sized to your mattress weight and mounted at the right geometry, or the platform won't lift easily or stay up safely. Get that wrong and you've built something that can drop on you. Graduate to it once you've got a platform or drawer bed behind you, and follow a tested plan.
Don't forget the headboard
Since you're building anyway, make the headboard earn its keep. A storage headboard, meaning a slim shelf or a set of small cubbies across the head of the bed, adds a nightstand's worth of surface without a nightstand's footprint. That matters most when there's no room for a bedside table on either side: books, a phone, a lamp, a glass of water all get a home. It's a small addition to any of the builds above and an easy bit of extra value.
Why the plans matter more than the wood
The difference between a storage bed you're proud of and a wobbly weekend you regret is almost never the wood. It's the plan. A frame holds real weight and moves every night, so square cuts, correct fasteners, and properly sized drawer or strut hardware genuinely matter. You want step-by-step diagrams, an exact cut list, and a full materials breakdown, not an inspiration photo and a guess, which is why a dedicated plans library usually beats stitching together free tutorials of uneven quality, especially on a load-bearing build like a bed.
The starter tools you'll need
You can build every bed above with a modest kit. None of this needs a full workshop.
BLACK+DECKER 20V MAX Cordless Drill/Driver
Drives every screw and drills every pilot hole in the frame and drawers. A single 20V kit carries the whole project.
Check price on Amazon →DOVAMAN 4-1/2" Compact Circular Saw
Cuts the platform, frame, and drawer panels to your exact mattress size. Square cuts are what make drawers glide, so this earns its place.
Check price on Amazon →18" Full-Extension Drawer Slides (4 Pairs)
Full-extension drawer slides let the drawers pull all the way out, and a level keeps the frame true so everything fits. The small hardware that decides whether the build feels solid or sloppy.
Check price on Amazon →Common questions
How much does it cost to build a storage bed?
Budget roughly $150 to $400 in materials for a queen, most of it plywood plus hardware. Full-extension drawer slides run about $20 to $40 a pair, and a set of gas struts for a lift-up bed $30 to $60. The saving over a retail storage bed is real but comes mostly from your unpaid labor, so if you also have to buy the tools, a first build may barely break even.
What material should I build it from?
Three-quarter-inch plywood (birch or maple veneer) is the sweet spot for a bed frame: flat, strong enough to skip a box spring, and it takes screws without splitting the way solid pine can. Save thinner ply or MDF for drawer bottoms and back panels, where nothing bears weight.
Match the build to your skill, and don't cut a load-bearing frame off a guess. Do it right and the dead air under your mattress becomes a dresser, and the clutter that made the room feel cramped now lives inside the bed.